Compatible drones & transfer guide
DronePoint generates KMZ mission files in DJI's WPML format — the standard file format that DJI Fly uses for all waypoint missions. Below you'll find every supported drone, its compatible remote controls, and step-by-step instructions for getting your mission file onto your controller.
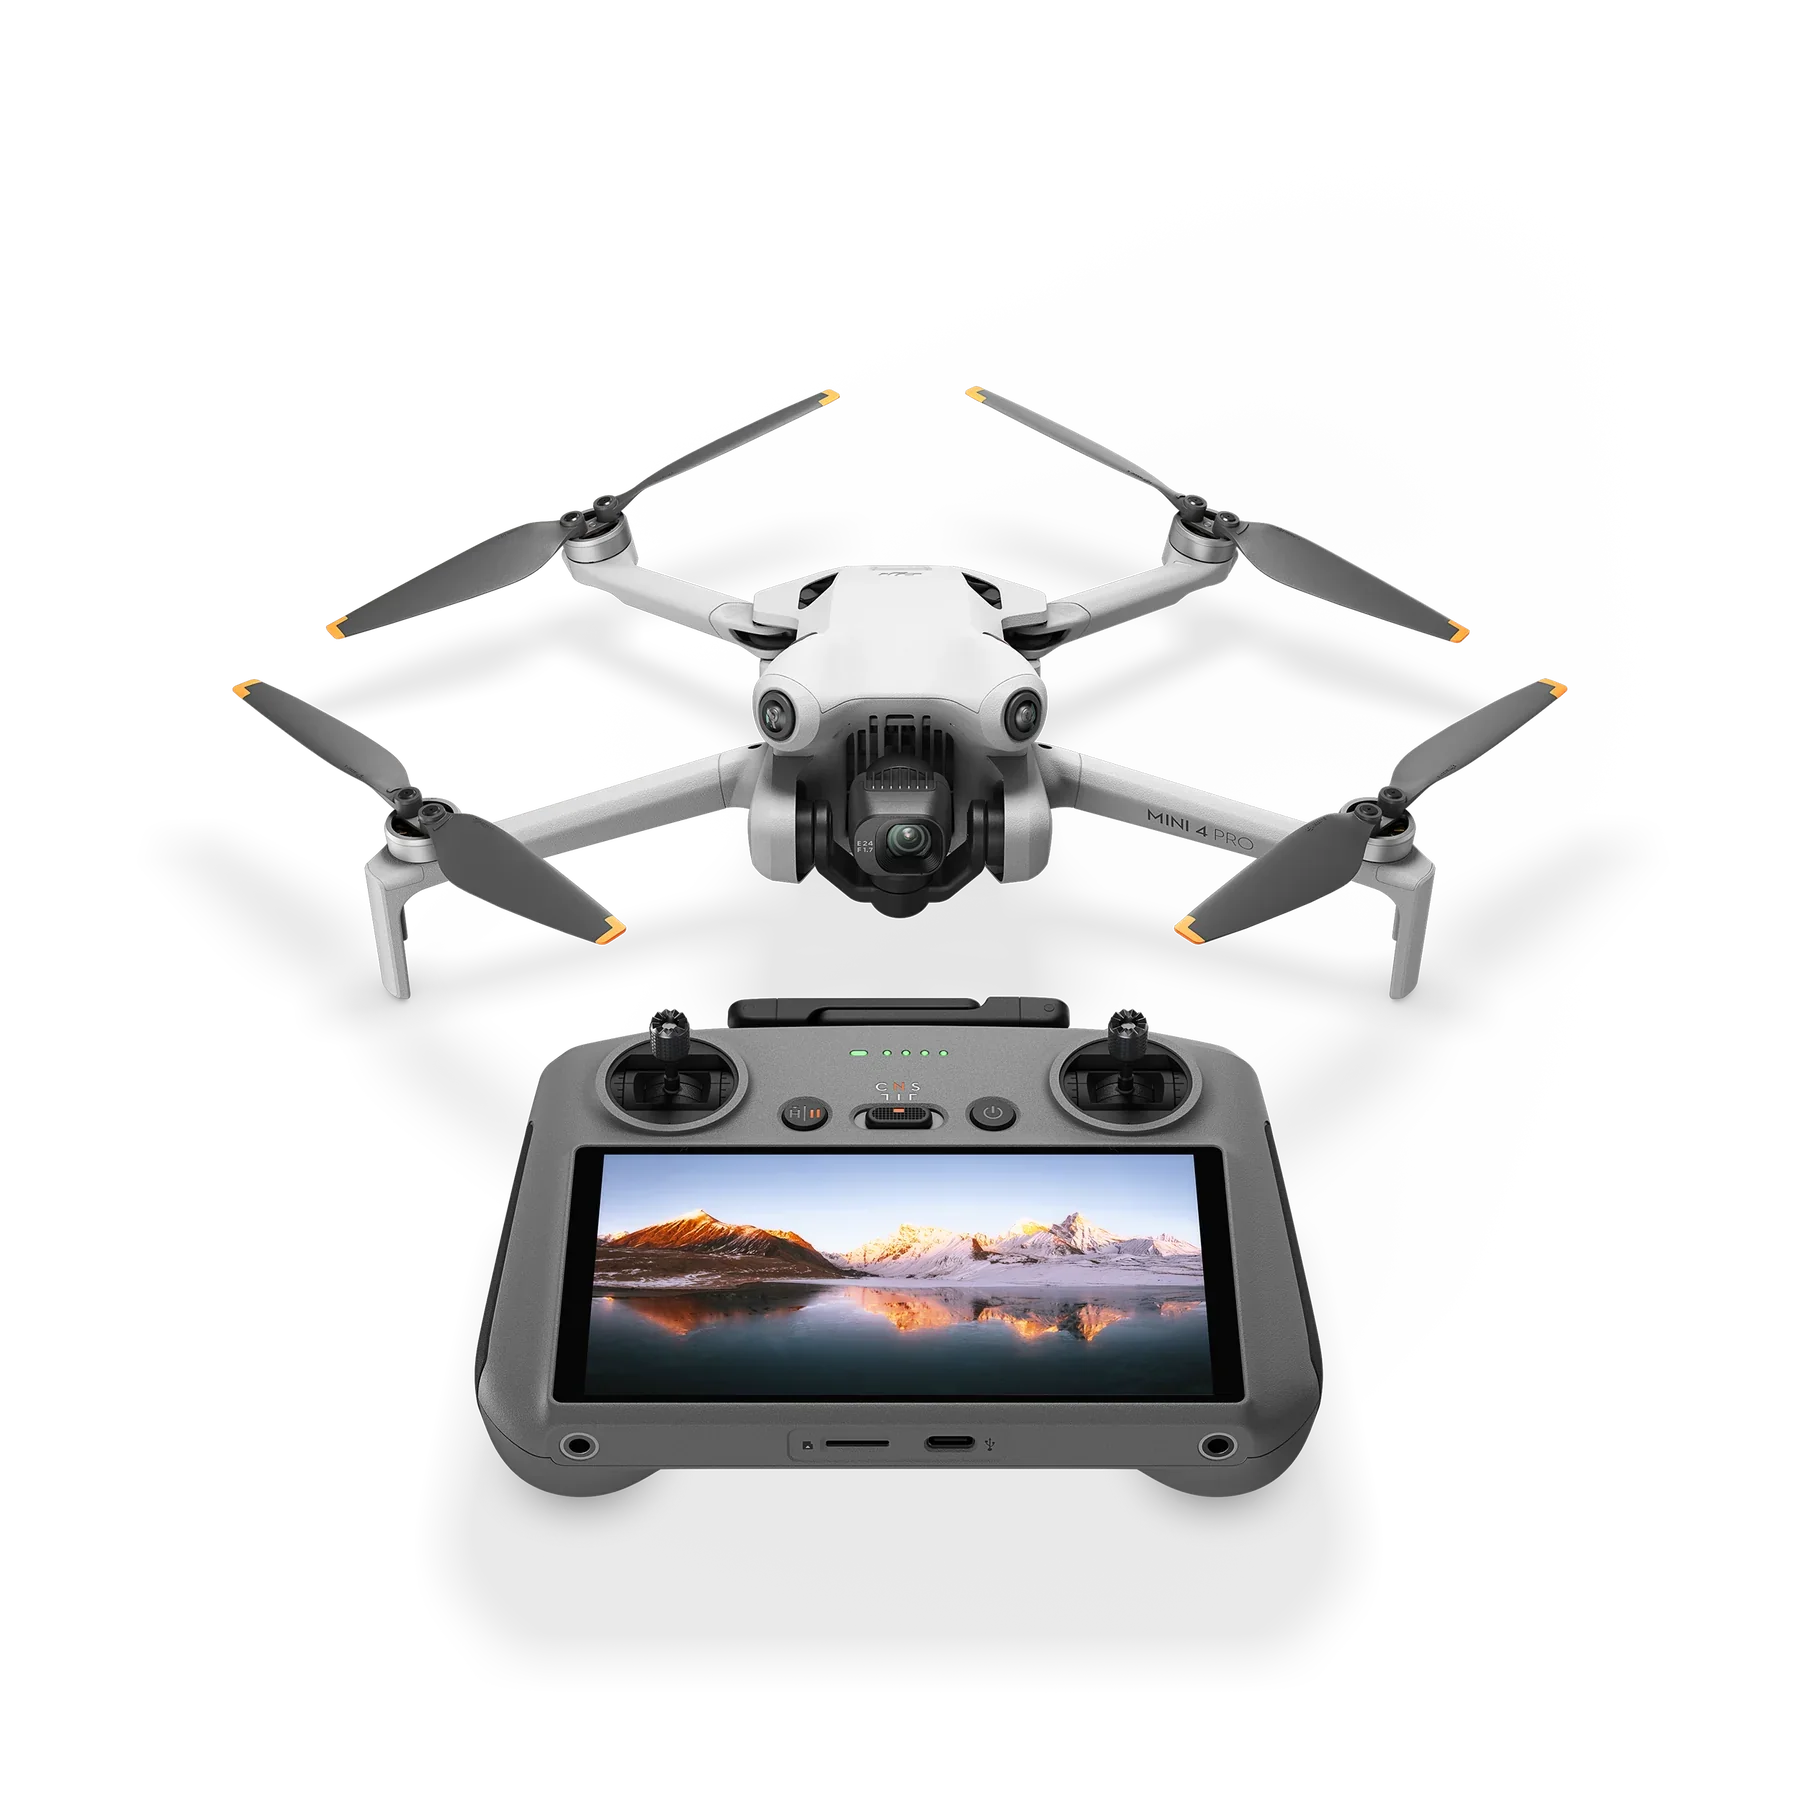
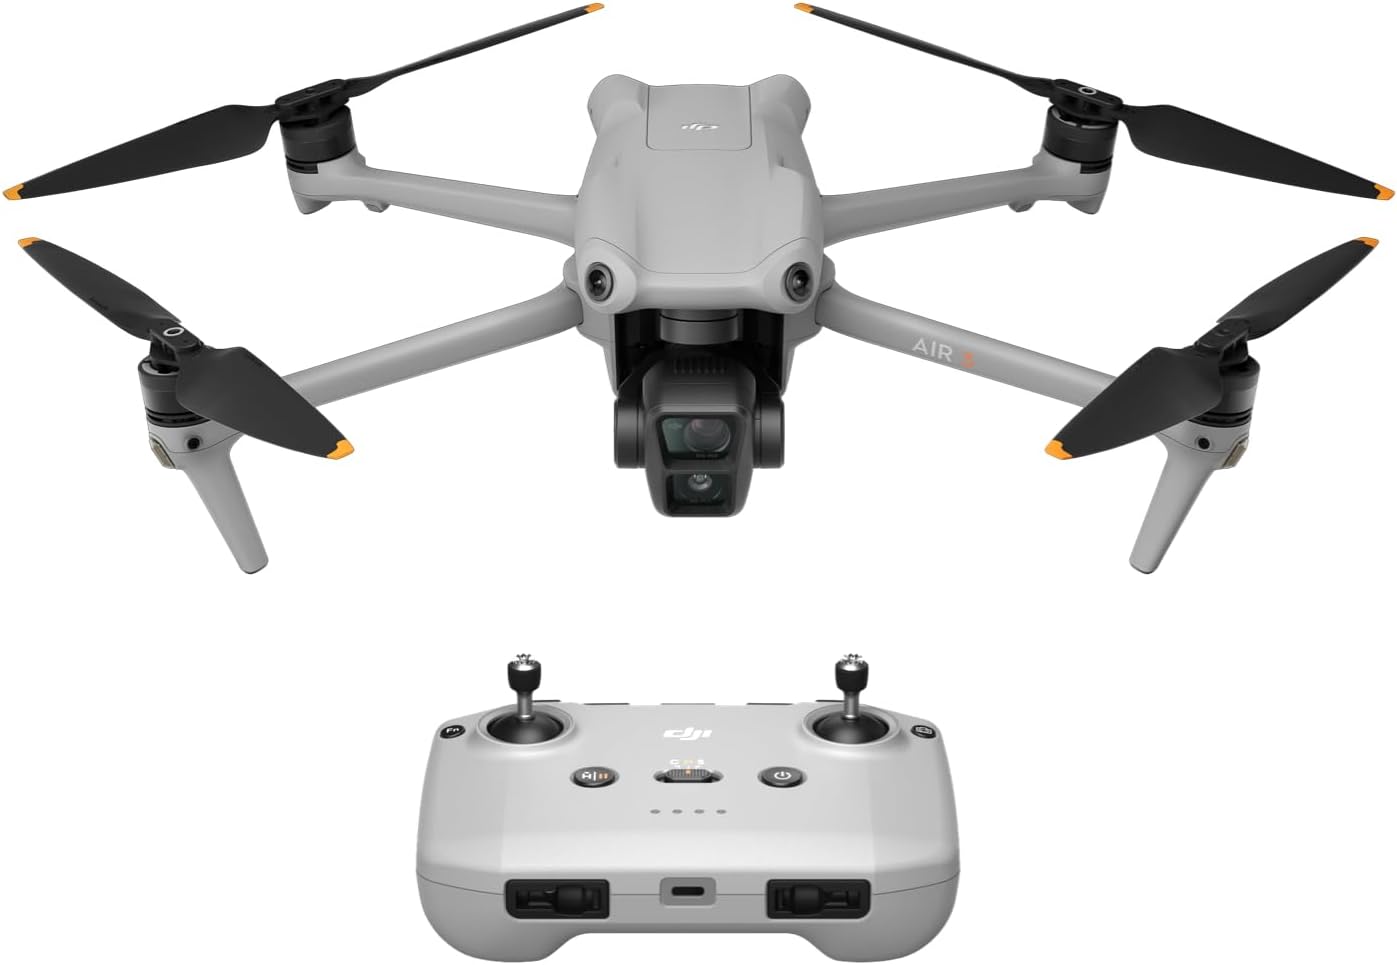
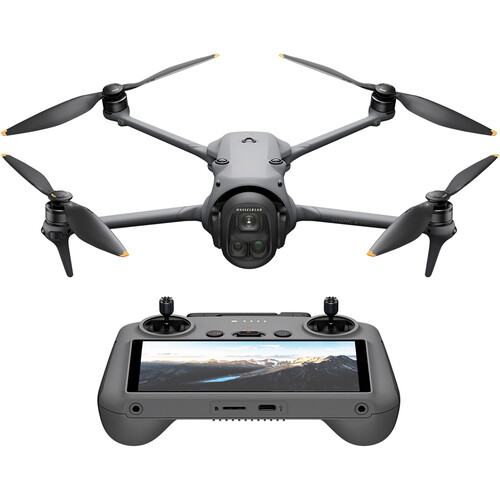
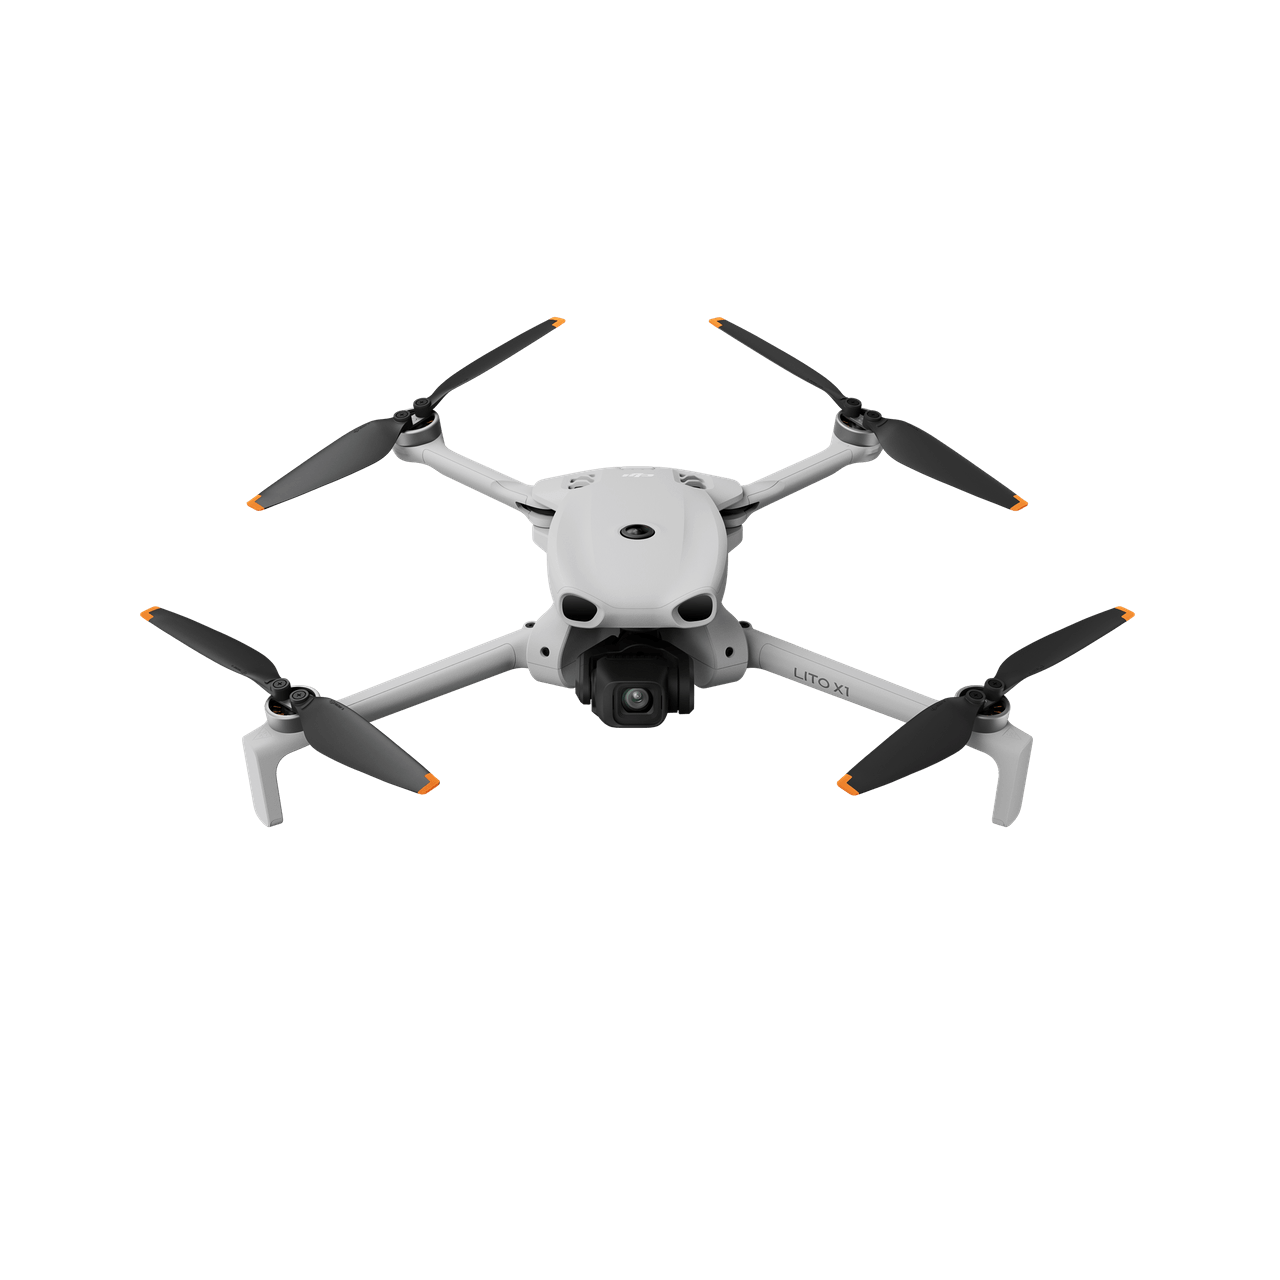
Supported drones
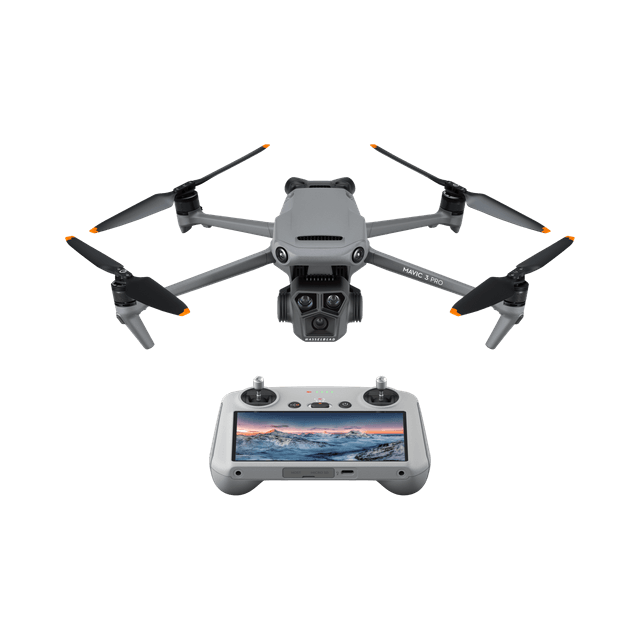
Remote controls
Which remote do you have?
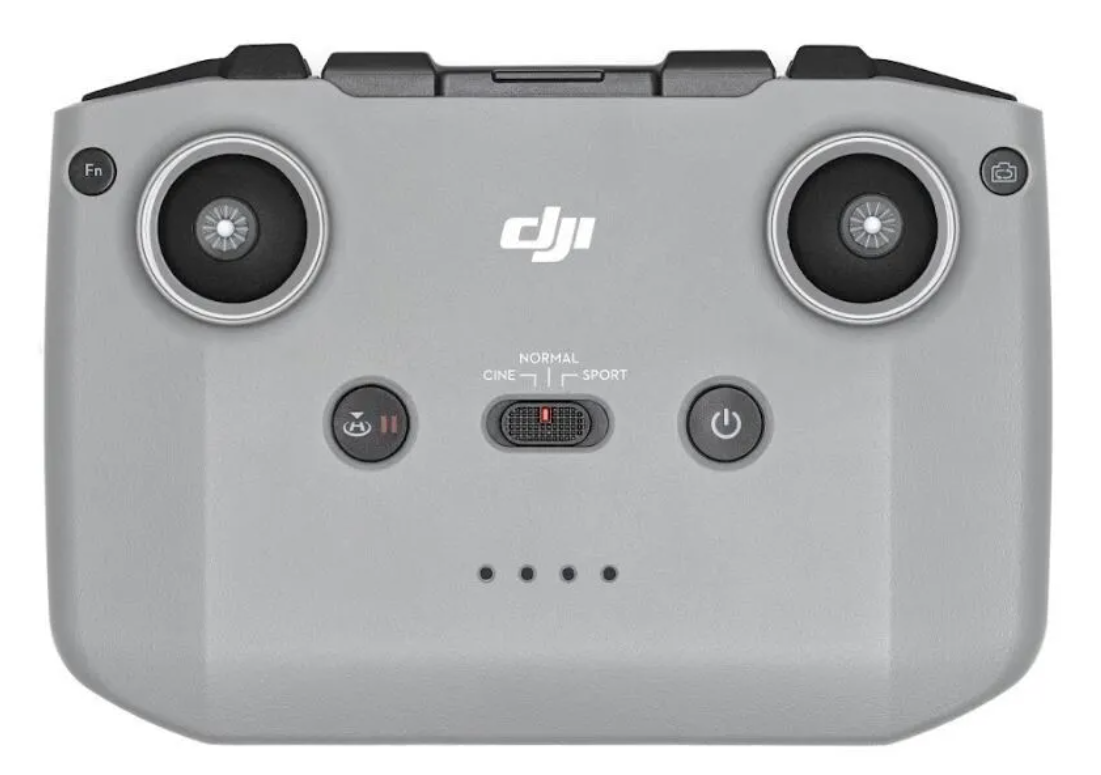
A compact remote without a built-in screen. You mount your own phone and run DJI Fly. Mission files are stored on the phone itself.
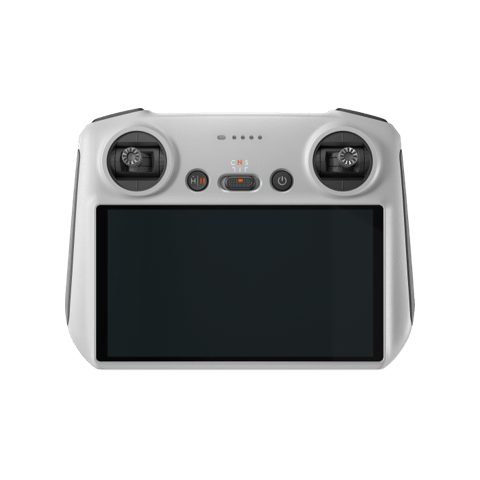
A screen remote with Android built in — no phone needed. Connect to a computer via USB-C to access the internal storage and copy mission files.
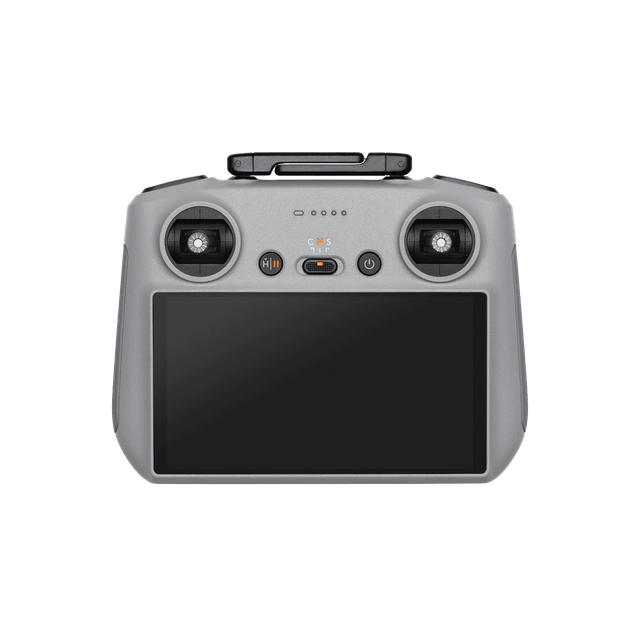
Professional screen remote with 1000 nit brightness. Same file transfer process as RC 2 via USB-C to PC/Mac.
Transfer guide
How to get your mission onto the controller
DJI Fly does not have a built-in import button. Mission files must be placed in a specific folder on the device. The process differs slightly by device type — select yours below.
Step-by-step transfer instructions
Select your remote control type to see the exact steps.
Export your KMZ from DronePoint
Plan your mission, click Export KMZ, and download the .kmz file to your computer.
Connect the RC to your computer via USB-C
Use the USB-C cable that came with the remote. On Windows, it should appear as a drive in File Explorer. On Mac, install Android File Transfer from android.com/filetransfer.
Create a placeholder mission first
Open DJI Fly on the RC, go to Waypoint missions, and create any simple mission with 2–3 waypoints. Save it — this creates the folder structure you need.
Navigate to the waypoint folder
On your computer, browse to: Internal Storage / Android / data / dji.go.v5 / files / waypoint /
You'll see one or more UUID-named folders (e.g. a1b2c3d4-...). Each folder = one saved mission.
Replace the placeholder KMZ
Open any UUID folder and replace the .kmz file inside with your DronePoint KMZ. Keep the original filename.
Disconnect and open DJI Fly
Safely eject the RC from your computer, then open DJI Fly → Waypoint missions. Your mission will appear in the list, ready to fly.
Download the KMZ to your computer
Export your mission from DronePoint and save the .kmz file.
Create a placeholder mission in DJI Fly
Open DJI Fly on your phone, create a simple 2–3 waypoint mission and save it. This creates the folder structure.
Connect phone to computer via USB
On Android, when prompted, choose File Transfer (MTP) mode — not Charging or PTP.
Navigate to the waypoint folder
Internal Storage / Android / data / dji.go.v5 / files / waypoint /
/Android/data/ folder is restricted. If you can't access it via USB, use a file manager app on the phone (e.g. Files by Google) to copy the KMZ from Downloads into the waypoint folder.
Replace the KMZ and reload DJI Fly
Replace the .kmz in any UUID folder with your file. Close and reopen DJI Fly — your mission will appear.
AirDrop or email the KMZ to your iPhone
The easiest way is to AirDrop the .kmz file from your Mac, or email it to yourself and download it via the Mail app.
Create a placeholder mission in DJI Fly
Open DJI Fly, create any simple waypoint mission and save it. This creates the folder in DJI Fly's sandbox.
Open the Files app
Go to On My iPhone (or iPad) → DJI Fly → wayline_mission. You'll see UUID-named folders — one per saved mission.
Replace the KMZ file
Open a UUID folder and replace the .kmz file with yours. Keep the original UUID folder name — do not rename it.
Reopen DJI Fly
Force-close DJI Fly and reopen it. Go to Waypoint missions — your mission will appear in the list.
Export the KMZ from DronePoint
Plan your mission and download the .kmz file to your computer.
Connect RC Plus via USB-C
Use a USB-C cable. On the RC Plus, swipe down and select USB Connected → File Transfer. On Windows it appears as a drive; on Mac use Android File Transfer.
Create a placeholder mission first
In DJI Pilot 2 (the enterprise app on RC Plus), create a simple waypoint mission and save it to generate the folder.
Navigate and replace
Internal Storage / Android / data / dji.go.v5 / files / waypoint /
Replace the placeholder KMZ with your DronePoint file.
Reload DJI Pilot 2
Disconnect, open DJI Pilot 2, and find your mission in the Waypoint list.